Covert Robin 1 & 2
Hi Everyone! Thanks to my awesome friend Jennet from http://featheredneststudio.com
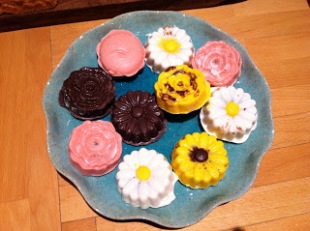
I found out about an awesome “Covert Robin” Swap. In this kind of swap you are assigned a random partner, and then make them something handmade, and in return they make something for you in return. Well, through only my own fault I somehow managed to sign up not once for such awesomeness but twice! So…for BOTH of my partners I sent them these:
Chocolate Covered Oreo Cookies!! I added some fun Spring/Easter stuff to the packages too. I was happy that both my recipients LOVED the cookies.
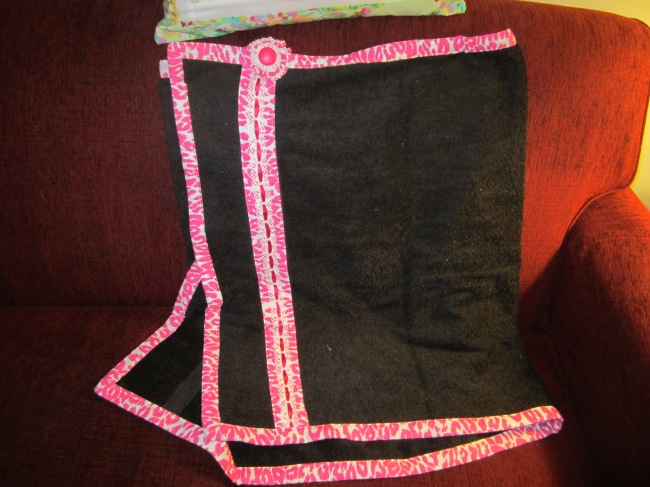
Upon returning from 10 days in warm, sunny, FL I came home to find one of my covert robin packages awaiting me…As I eagerly tore open the box, this is what I found…
A GORGEOUS Spa Wrap! Could be used after a shower, but I will probably use it after my pool classes, to stay warm. I also got some bobbin babies (that I’ll pass along to my Mom since I don’t have a machine) and some hand made face clothes (that I think my toddler already claimed, since I can’t locate them anywhere for a picture!!) Thank You again Melle!! at: http://featheredruffles.com/
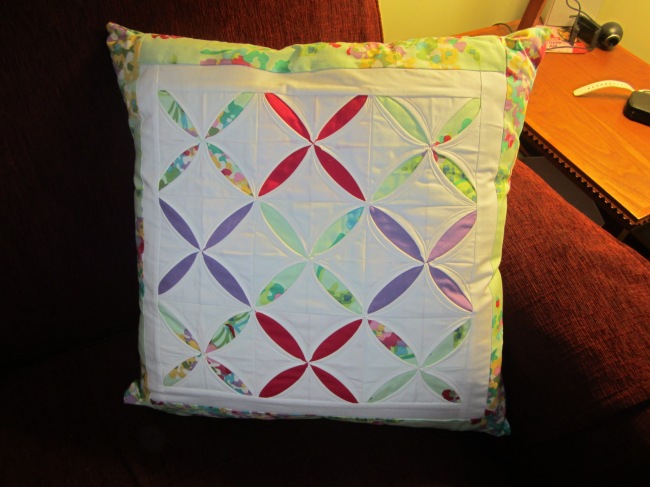
Then TODAY, after a long, tiresome morning, the post man brought ANOTHER awesome box to me….and HERE is what was inside!!
This is just STUNNING, it’s a Cathedral Window pillow. Thank You Leslie!!! I cannot WAIT to use it for my often- too frequent- much needed afternoon naps! What a GREAT Convert Robin!!!
Little Pin Cushion Swap
So through my awesome friend Jennet’s blog: http://featheredneststudio.com I signed up for a pin cushion swap sponsored by: http://www.sweetlittlepretties.com
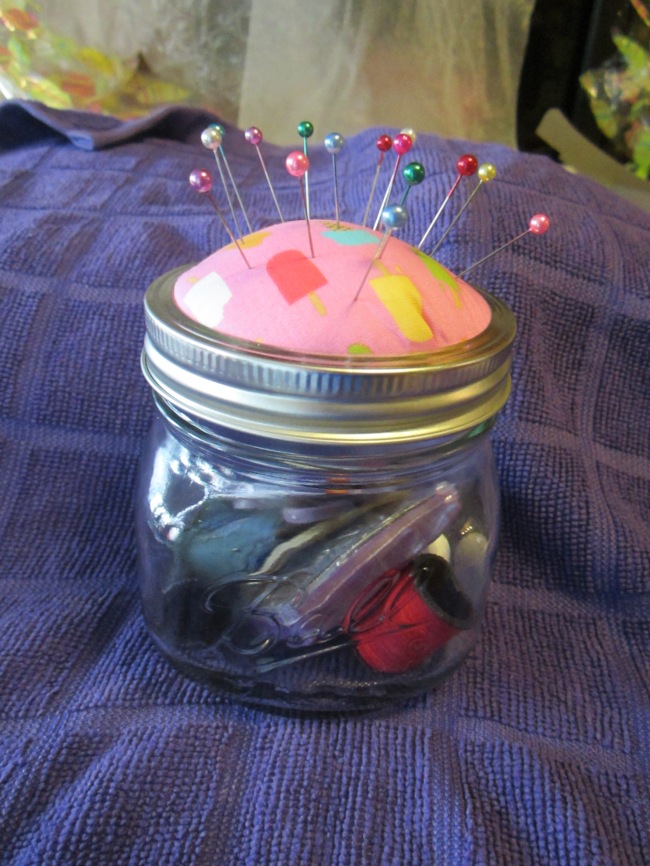
This is the pin cushion I made for my partner:
I used Popsicle material, because who doesn’t like popsicles? Then I filled the jar with tiny sewing things, and topped it with pearl topped straight pins. I found the pattern on Pinterest. No sewing required.
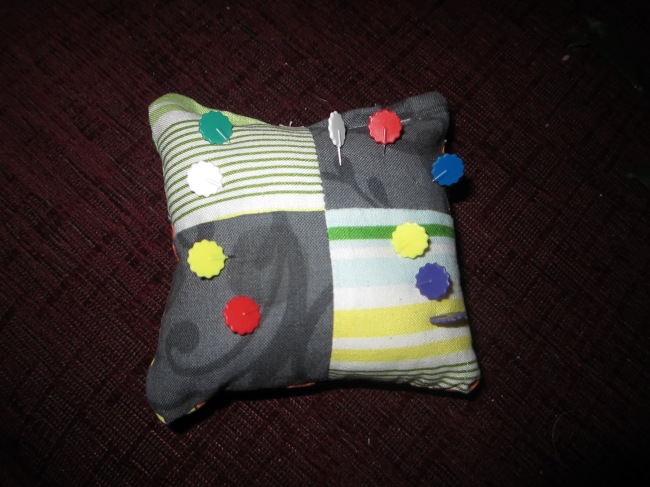
While away on vacation I received this lovely pin cushion all the way from the state of Minnesota!
This is the front side: (a nice pattern w/fancy pins)
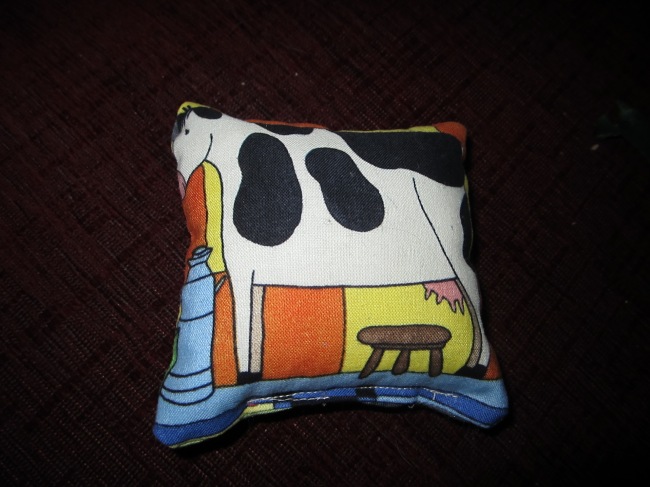
This is the back (and I so do LOVE it, since I LOVE cows)
Thank You, Thank You to my awesome pin cushion partner for an awesome swap!!!
Pot Holder Swap!!!
Hey Everyone!!!
I’m hosting a Pot Holder Swap!!! Simple rules: Sign up by March 1, get your partner, send them 2 NEW Potholders by March 15th. That’s right, two weeks to complete the challenge. Sign up NOW!!
Tye Dye Cake 101
So my friend’s daughter asked for a Tye Dye cake for her upcoming 12th Birthday…so my friend asked me if I knew how to Tye Dye a cake…well I have Tye Dyed the inside before, but never the frosting…so here are some steps if you want to make a tye dye cake…
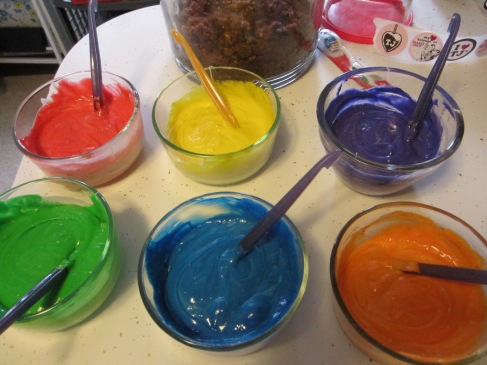
Start with separating a white cake mix into 6 different bowls.
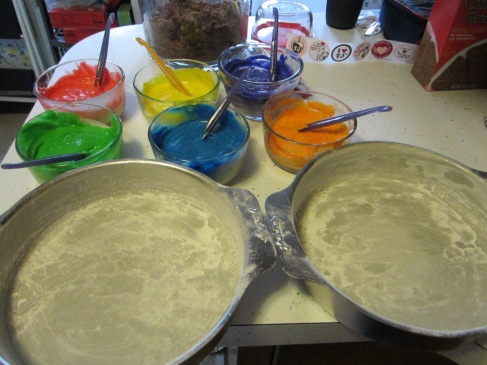
Then add in the coloring/and stir it up…
Flour (2) Round cake pans…
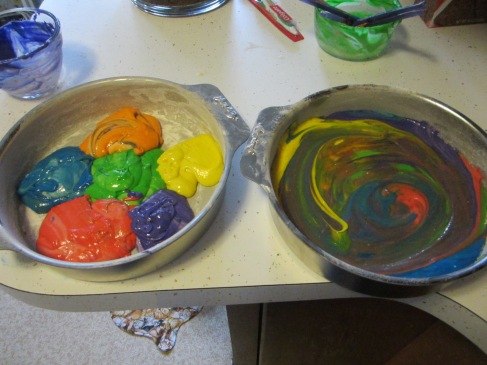
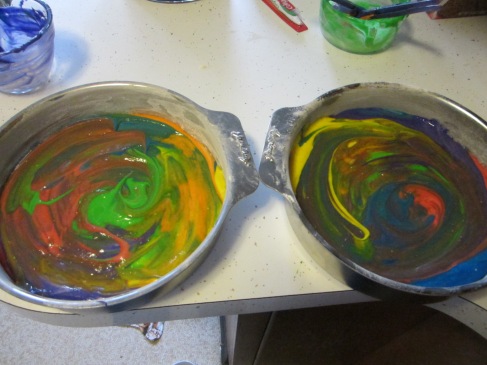
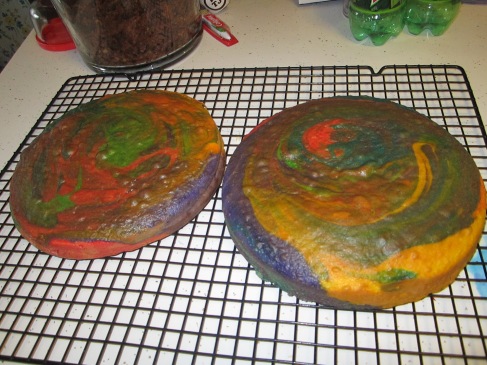
Then pour in some of the batter into each pan, like this..(left picture).and then swirl it all around like this…(right picture)
Then you will have two swirled/ready to bake cakes…
Then you bake them as directed…
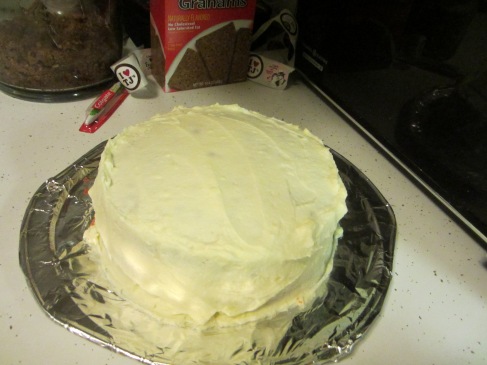
Then you put frosting between the layers/and put the layers together/and more white frosting…
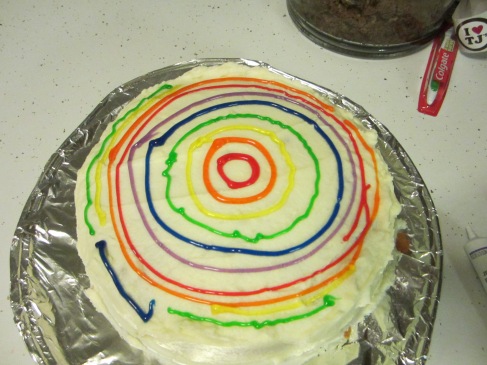
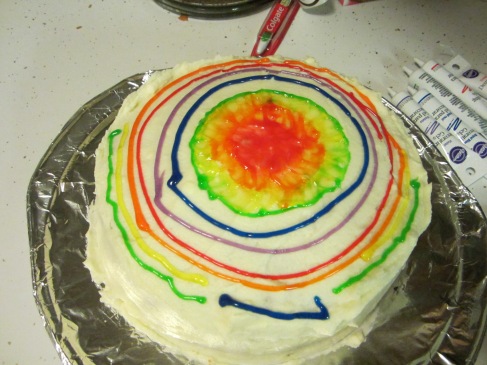
Then use edible color gel to make circles of the rainbow (think ROYGBIV) Starting on the inside/and working your way out to the edge…
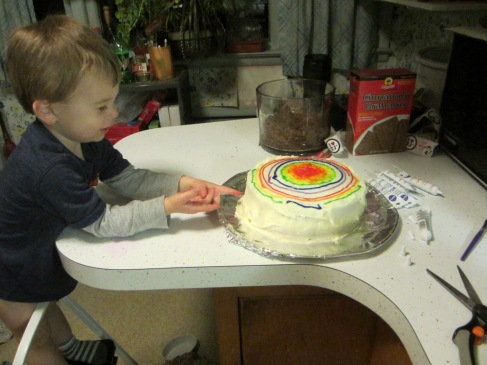
Always make sure you have plenty of help in the kitchen (before you start), so here is my Sou Chef…Henry…
Then use a food save paint brush to start by blending the colors, pulling out from the center toward the next color, wiping/washing your brush between each color or so…
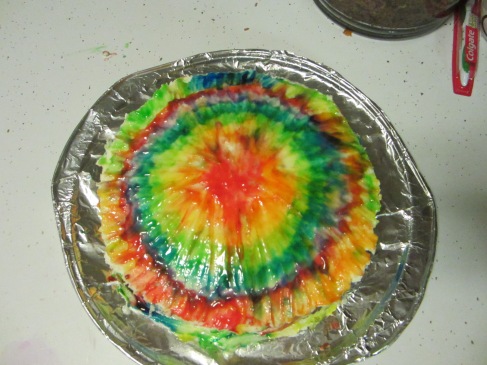
Then continue to work along until you’ve done all the colors, finally brush the whole cake gently from the center out to the edge for the full effect…
There you have it….fun to do!!
Valentine Heart Stamps
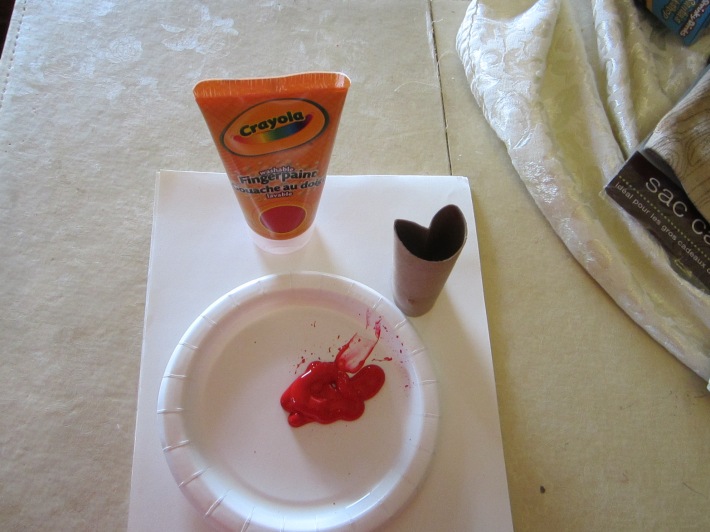
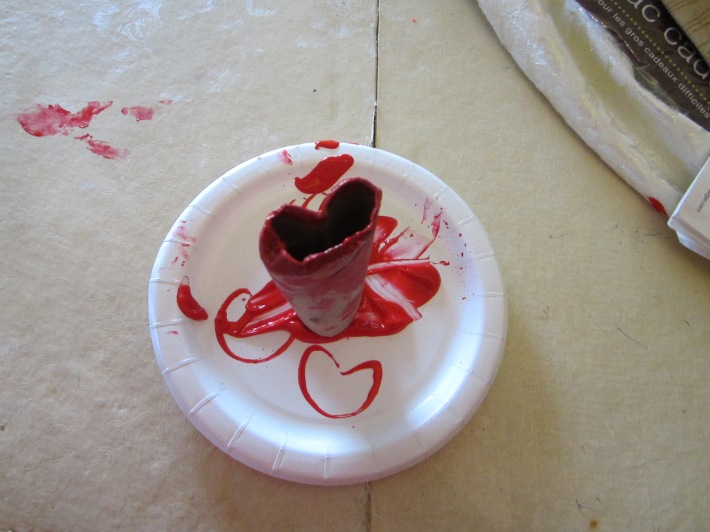
What an EASY-PEASY craft to do with a toddler. You will need some red paint, white paper, paper plate, and a toilet paper tube. (Squish the top of the tube in to make a Heart shape). Spread some red paint onto the paper plate.
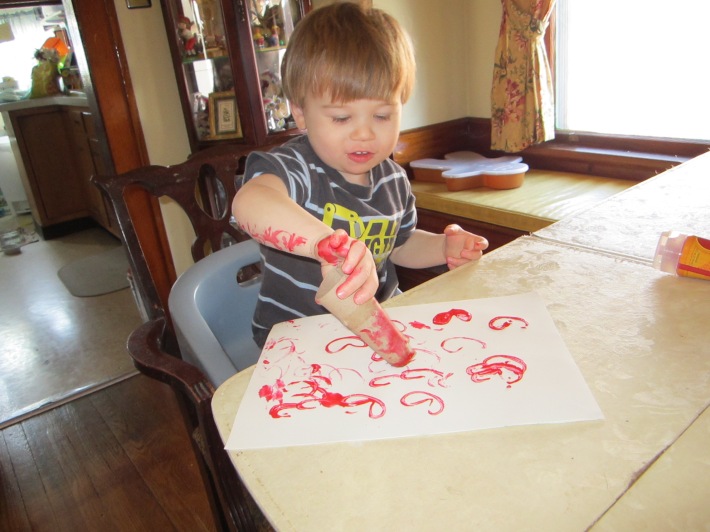
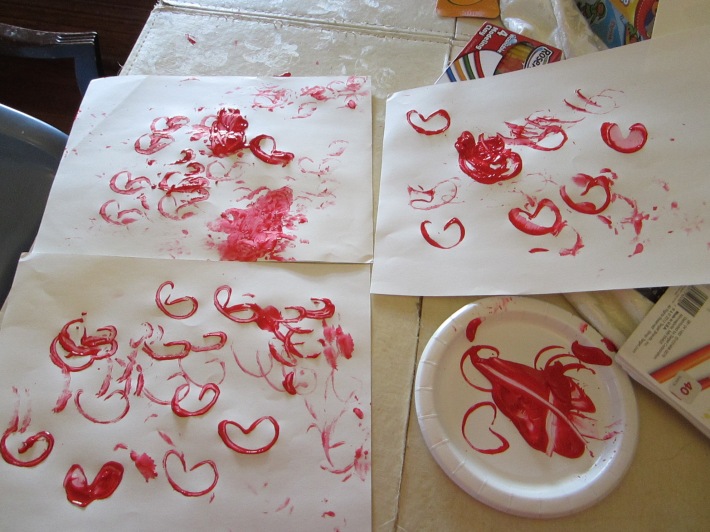
Then let your toddler dip the heart shaped toilet tube into the red paint and “dob” the paper, you could make a pattern, or anything really…
I really let our son go crazy with the dobbing, and painting, he really loved it!
Wow couldn’t be must easier. Thanks Pintrest!!
Snowman “Cup” Craft
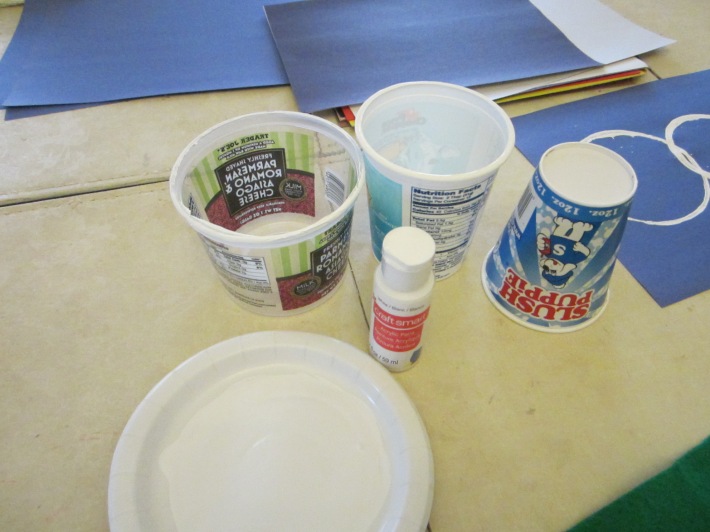
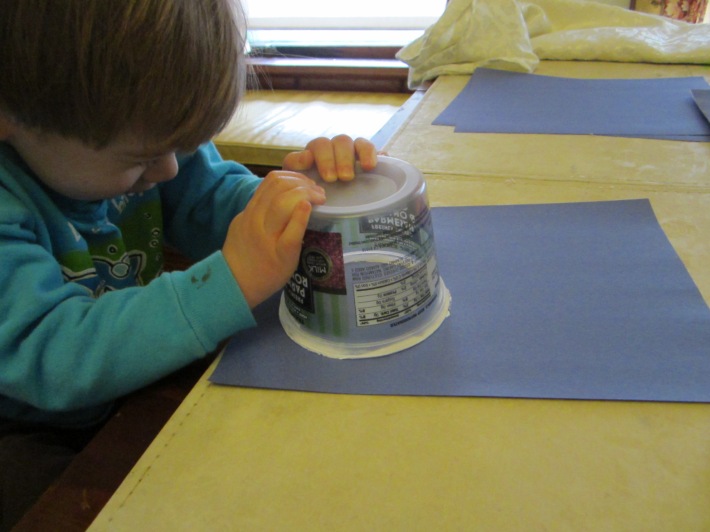
So I saw this idea on Pintrest. First get some blue construction paper. Then get (3) circular containers (of varying sizes), and a plate of white paint.
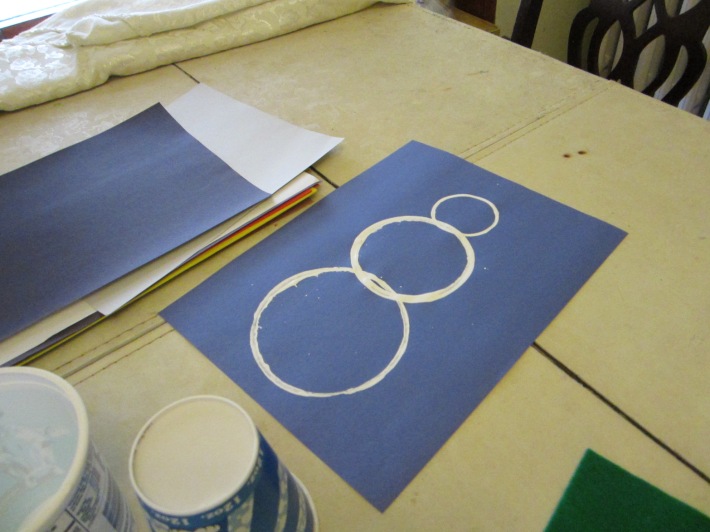
Dip the tops of the container in white paint, and press onto the paper (in a snowman pattern) large on the bottom, middle size in the middle, and small on top..(or how ever you want it).
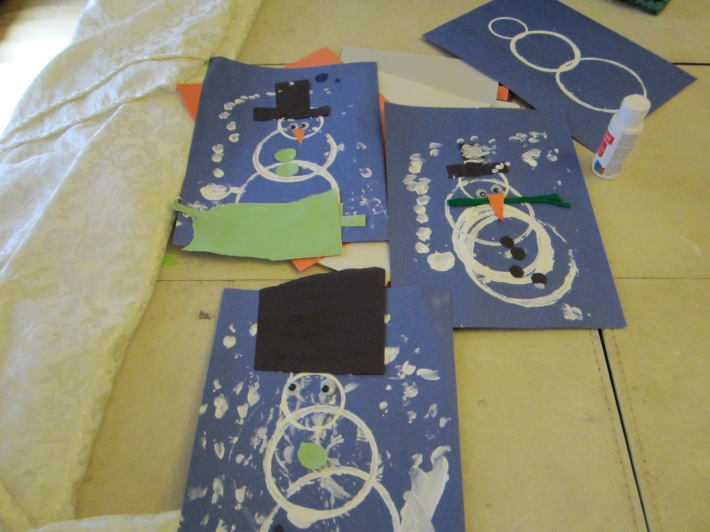
Then cut out hats, and glue on. (We made scarves, and our son added a sled, and some Google eyes, and noses). Since our son really likes to paint, so I let him add some “snow” with his finger prints on his pictures. Here’s our end results 😀
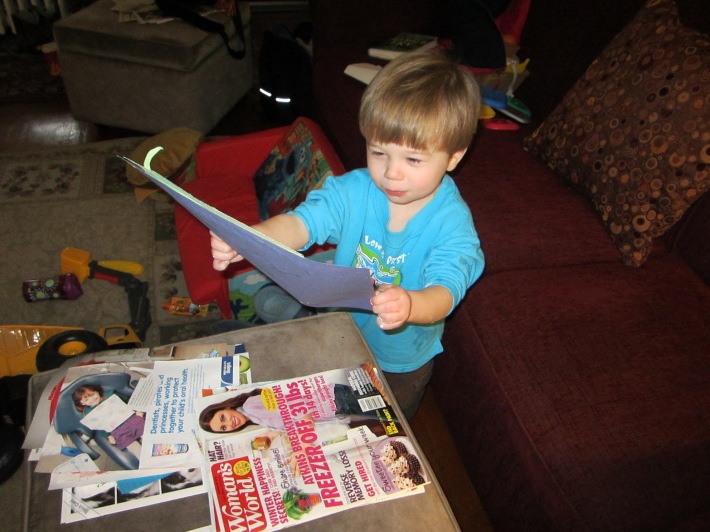
He was so proud of his final works 😀
Santa Salt Dough Hand Ornaments
I saw this great idea online…
First you would make some salt dough:
1/2 cup Salt
1/2 cup Flour
1/4 cup Water
Knead it all together until it forms a dough.
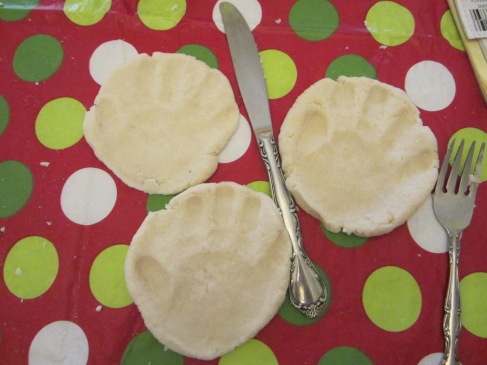
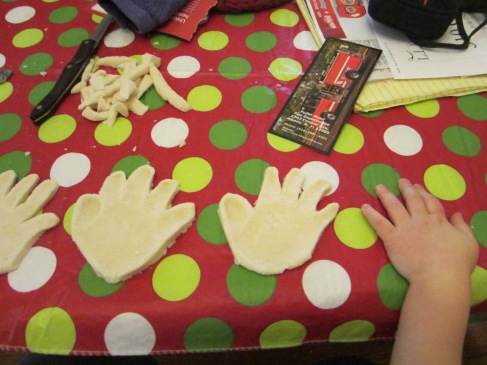
Roll it out and help your little one press their hands into it, making a deep indentation in the dough.
Next carefully with a knife cut around the hand print (leaving a border).
Before you bake use a drinking straw to poke holes in the top of each hand print, (the bottom of the hand print/not the finger part, like so..
Next bake at 200’F for 3 hours. (put directly on the oven rack, as this will allow the under side to bake equally.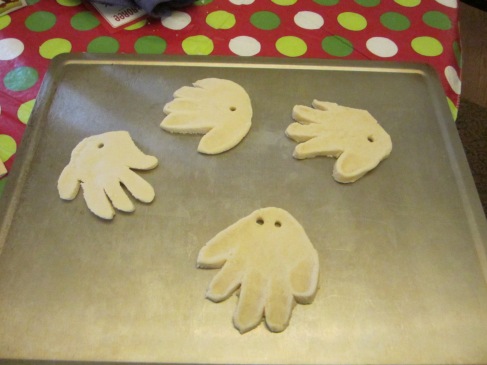
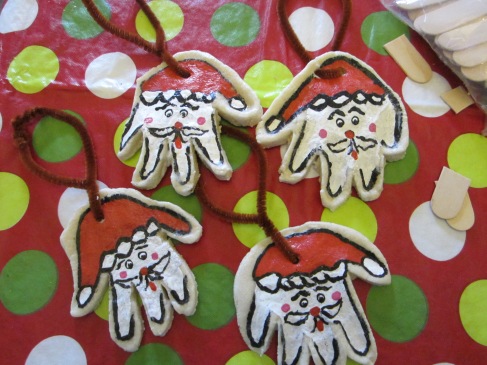
Let them cool for a long time, and then you can paint them. After you finish painting them, let them dry again, and coat with Modge Podge or a sealing spray. Let them dry again, and then attach a ribbon or something as the hanger (we used a pipecleaner).
Next you can hang one on your tree, and wrap the rest up for the Grandparents, God parents, friends, etc. Enjoy! Merry Christmas!!!
Caramel Apple Crisp
So a few weeks ago I signed up for another swap on a friend’s blog.
Her blog can be found here: http://www.chevronstitches.blogspot.com/
This time it was a recipe swap. Basically we took a questionnaire, got matched up, and received our recipe in the great American snail mail. So, I got this awesome recipe for Caramel Apple Crisp.
3 cups old-fashioned oats
2 cups all purpose flour
1 1/2 cups brown sugar packed
1 tsp ground cinnamon
1 cup cold butter
8 cups thinly sliced apples
1 package 14 oz caramels
1 cup apple cider, divided
In a large bowl, combine the oats, flour, brown sugar and cinnamon; cut in butter until crumbly. Press half of the mixture into a greased 13×9 baking dish. Layer with half of the apples and caramels and 1 cup oat mixture;repeat layers. Pour 1/2 cup cider over top. Bake, uncovered, at 350′ for 30 minutes. Drizzle with remaining cider; bake 15-20 minutes longer or until apples are tender. Yields 12-14 servings.
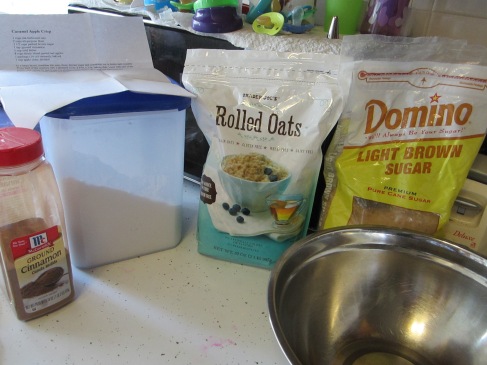
So I gathered the supplies:
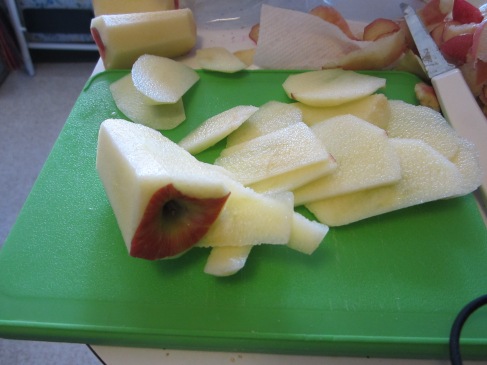
Then I peeled some apples…(I admit, this is NOT my strongest kitchen skill!)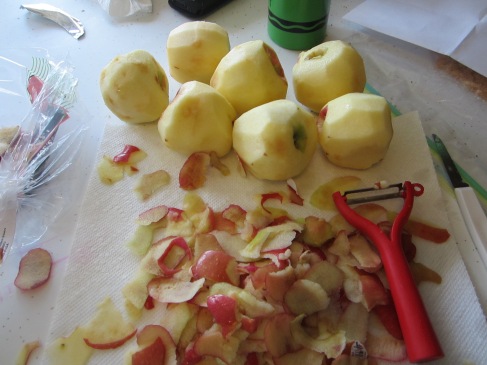
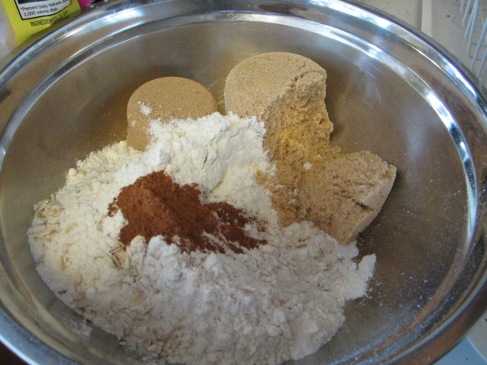
I put the oats, flour, packed brown sugar, and cinnamon into a large bowl:
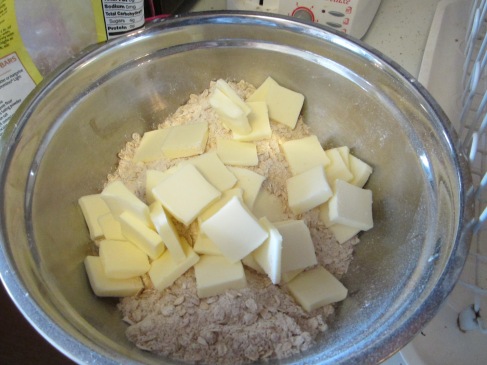
I stirred that all together with my hands, and then threw in the 1 cup cold butter chopped into pieces. Wow, that sure is a LOT of butter, Yum!!
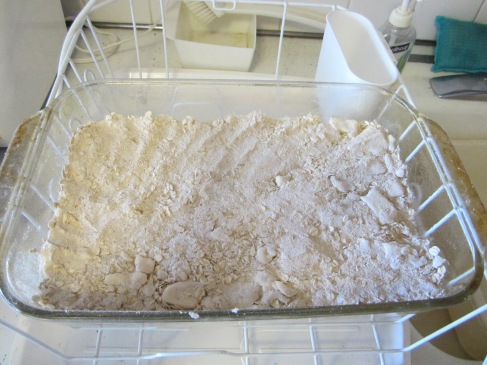
Smashed half of that mixture into my 13×9 pan…
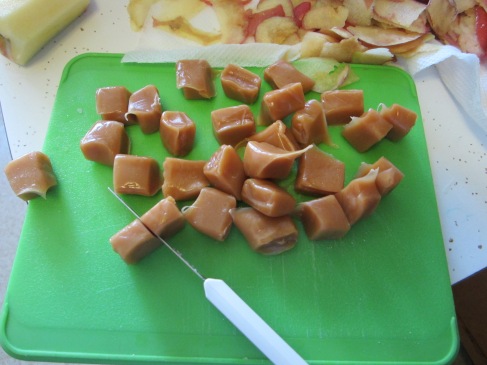
In the mean time had to un-wrap a zillion little caramels (NOT my favorite part, I felt like I worked in a factory)…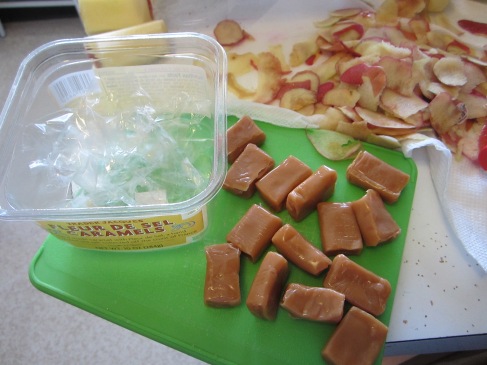
Then I had to chop the tiny caramels in 1/2 which was a sticky adventure at best…
Here’s my sliced apples by the way, notice how they aren’t all the SAME size, and just a modge podge of thickness!!
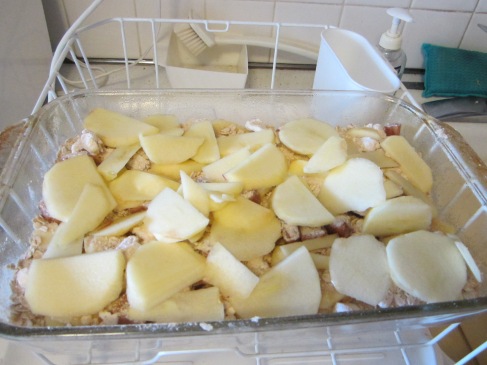
Then you layer in the apples on top of the pressed oat mixture…Here’s mine:
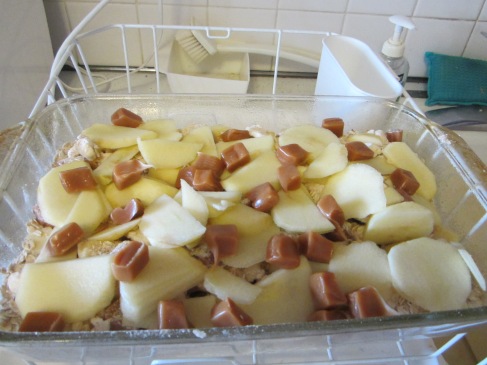
Don’t forget to toss in the little chopped up painfully unwrapped caramels:
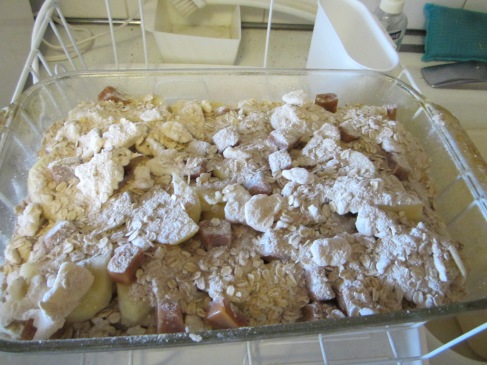
Then toss on another cup of the high buttery oat mixture:
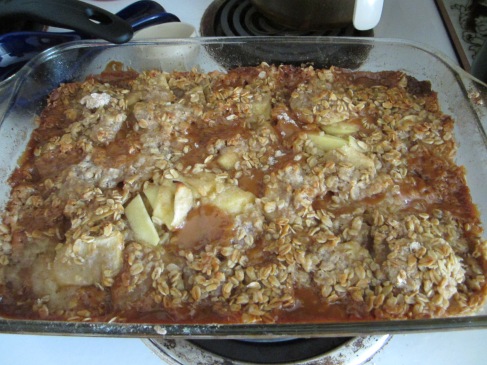
Oh and you’re suppose to pour on some apple cider too before you bake it, but I mis-read that and thought it said apple cider-vinegar (oopsie, have no fears, I caught myself before I poured it in!) So having no apple cider on hand, I just squirted in one of my son’s apple juice boxes (close enough I guess?) LOL, Bake and enjoy!! Here’s my gorgeous Caramel Apple Crisp that we’ll be enjoying with tonight’s dinner…
Hands & Feet Turkeys
I saw this neat craft online and I had to try it with my adorable boy.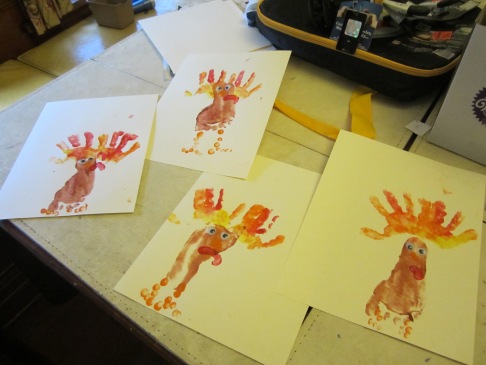
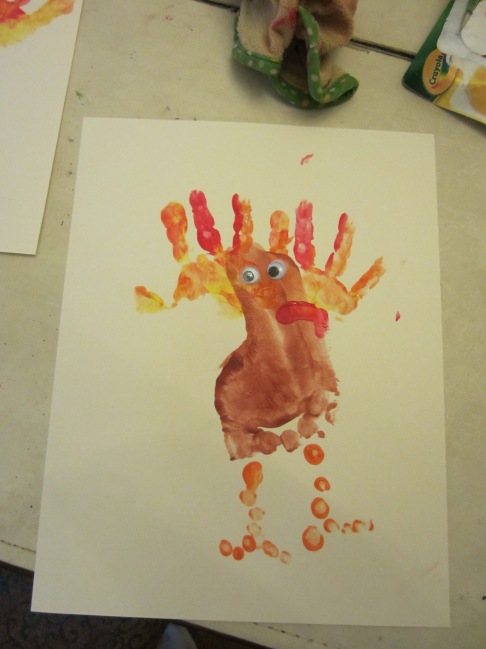
We used WASHABLE paints (bought ours at Target for $3 or less) and I used a little brush to paint brown on the bottom of his foot/and helped him press it onto the oak tag paper. Then, I painted his little hand an array of fall colors and pressed that on for the feathers. I glued on googly eyes, and helped him paint on beaks, wattles, and we used fingerprints to make little legs and toes.
*This is my favorite of the four we made…I love the legs the best!!
Raspberry Cheesecake Cake Balls
So I was visiting a wonderful friend of mine recently, and mentioned making cake balls. She showed me a library book she had borrowed with some cake ball recipes, and she “hinted” at which I should attempt first. Here you can follow along in the making…
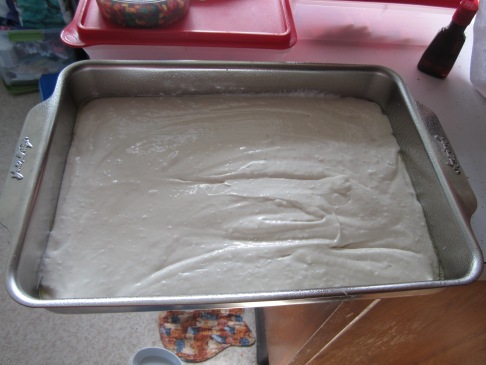
1. Mix up a white cake mix using box directions.
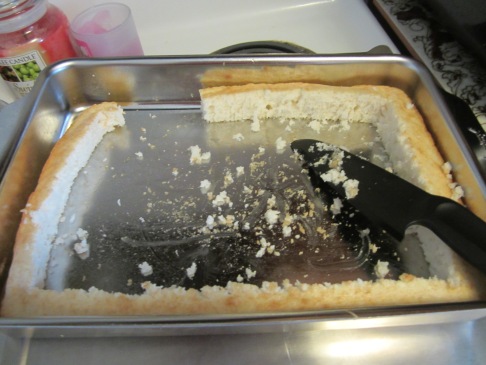
2. Bake the cake at 350′ and when it’s done, take out the center and throw into a bowl.
3. Eat all remaining edges.
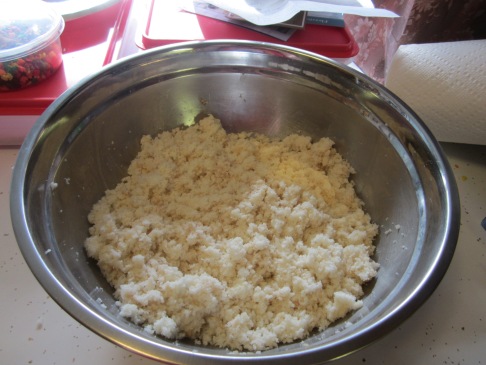
4. Crumble the cake into pieces like this…
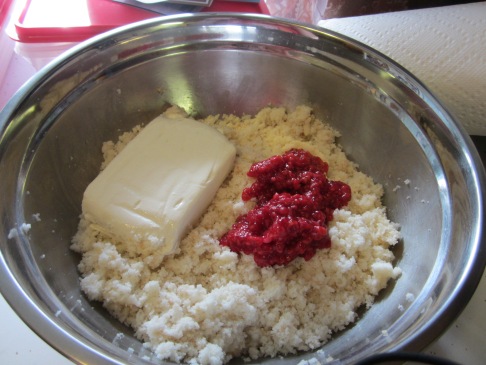
5. Add an 8 oz brick of softened cream cheese and 1/3 cup of mashed raspberries.
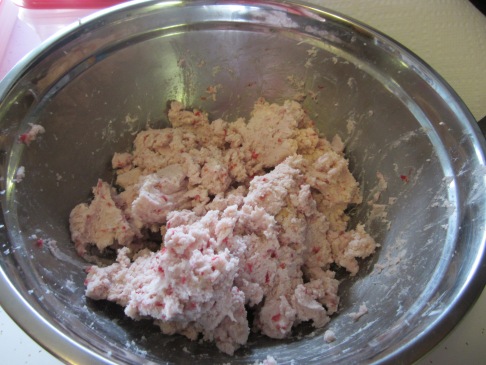
6. Mash all that stuff together really well, so it looks like this…
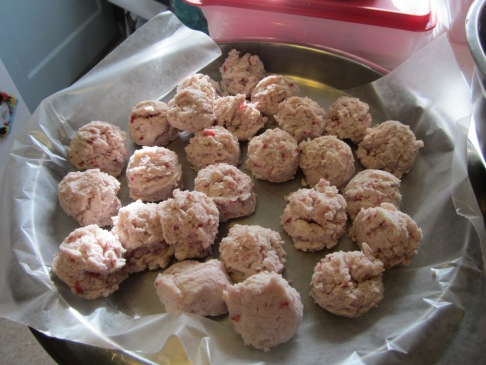
7. Use a cookie scooper to scoop into even sized balls…
8. Roll each ball by hand so it’s not all bumpy anymore…
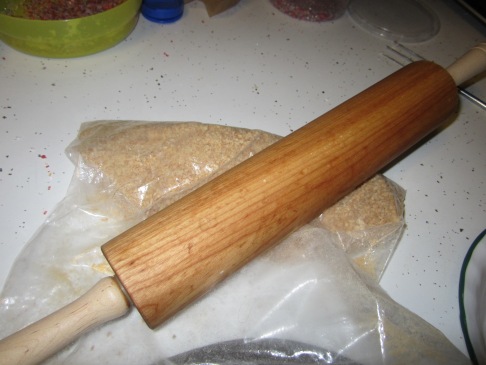
9. Crush up some graham crackers…
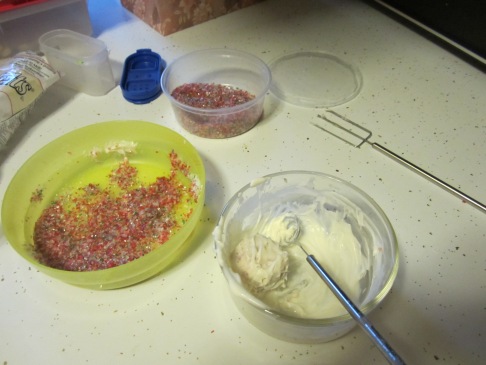
10. Melt chocolate (I used white) and roll each ball in, then roll in sprinkles or prepared crushed graham cracker…
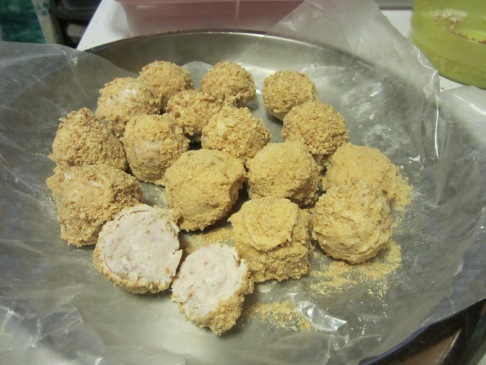
11. Viola, Cake Balls…Yum Yum Yummm